Setting up object storage
Add connections to workbenches to connect your project to data inputs and object storage buckets. A connection is a resource that contains the configuration parameters needed to connect to a data source or data sink, such as an AWS S3 object storage bucket.
| This is only necessary for Part 3: LLMs on Object Storage. It is not needed for Part 2: LLM ModelCars. |
For this workshop, you run a provided script that creates the following local Minio storage buckets for you:
-
My Storage - Use this bucket for storing your models and data. You can reuse this bucket and its connection for your notebooks and model servers.
The provided script also creates a connection to the storage bucket.
For convenience, run a script (provided in the following procedure) that automatically completes these tasks:
-
Creates a Minio instance in your project.
-
Creates a storage bucket in that Minio instance.
-
Generates a random user id and password for your Minio instance.
-
Creates a connection in your project
The script is based on a guide for deploying Minio.
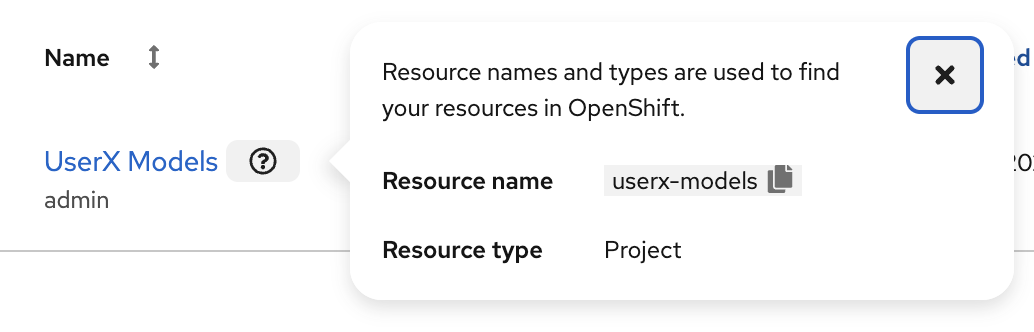
You must know the OpenShift resource name for your data science project so that you run the provided script in the correct project. To get the project’s resource name:
In the OpenShift AI dashboard, select Data science projects and then click the ? icon next to the project name. A text box appears with information about the project, including its resource name:
|
The following procedure describes how to run the script from the OpenShift console. If you are knowledgeable in OpenShift and can access the cluster from the command line, instead of following the steps in this procedure, you can use the following command to run the script: oc apply -n <your-project-name/> -f https://github.com/cfchase/serving-models/raw/main/setup/setup-s3.yaml |
-
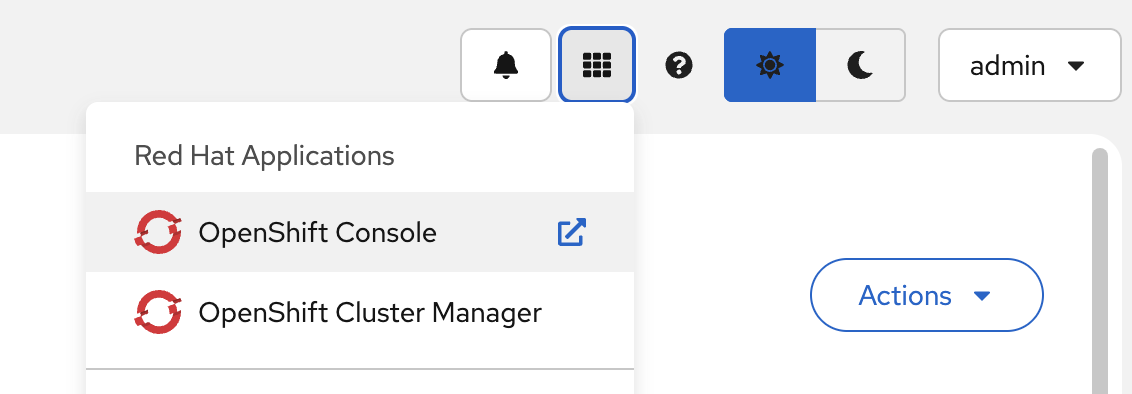
In the OpenShift AI dashboard, click the application launcher icon and then select the OpenShift Console option.
-
In the OpenShift console, click + in the top navigation bar.

-
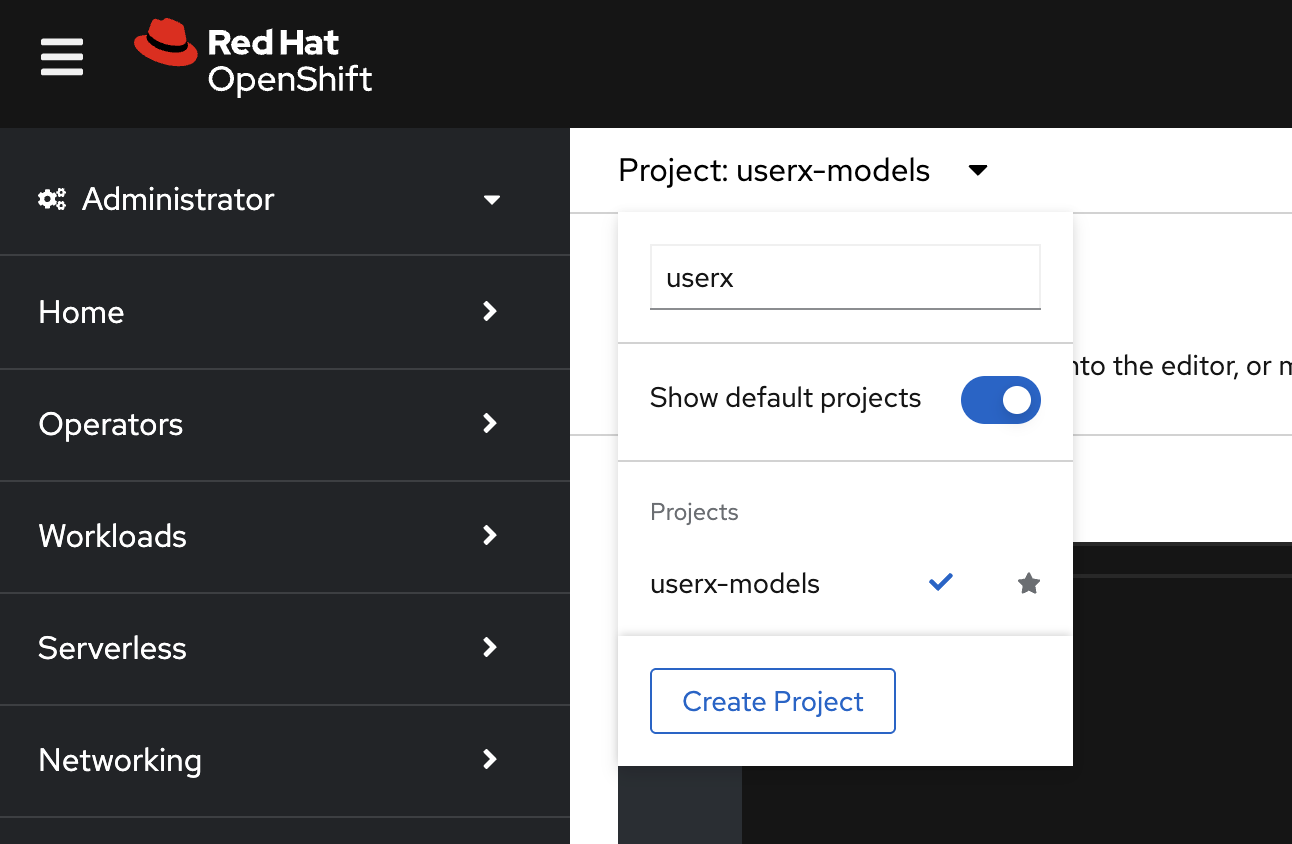
Select your project from the list of projects.
-
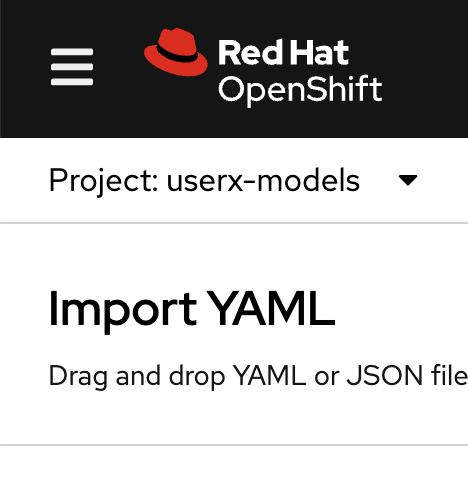
Verify that you selected the correct project.
-
Copy the following code and paste it into the Import YAML editor.
This code gets and applies the setup-s3-no-sa.yamlfile.--- apiVersion: v1 kind: ServiceAccount metadata: name: demo-setup --- apiVersion: rbac.authorization.k8s.io/v1 kind: RoleBinding metadata: name: demo-setup-edit roleRef: apiGroup: rbac.authorization.k8s.io kind: ClusterRole name: edit subjects: - kind: ServiceAccount name: demo-setup --- apiVersion: batch/v1 kind: Job metadata: name: create-s3-storage spec: selector: {} template: spec: containers: - args: - -ec - |- echo -n 'Setting up Minio instance and connections' oc apply -f https://github.com/cfchase/serving-models/raw/main/setup/setup-s3-no-sa.yaml command: - /bin/bash image: image-registry.openshift-image-registry.svc:5000/openshift/tools:latest imagePullPolicy: IfNotPresent name: create-s3-storage restartPolicy: Never serviceAccount: demo-setup serviceAccountName: demo-setup -
Click Create.
-
In the OpenShift console, you should see a "Resources successfully created" message and the following resources listed:
-
demo-setup -
demo-setup-edit -
create-s3-storage
-
-
In the OpenShift AI dashboard:
-
Select Data science projects and then click the name of your project, UserX Models.
-
Click Connections. You should see one connection listed:
My Storage.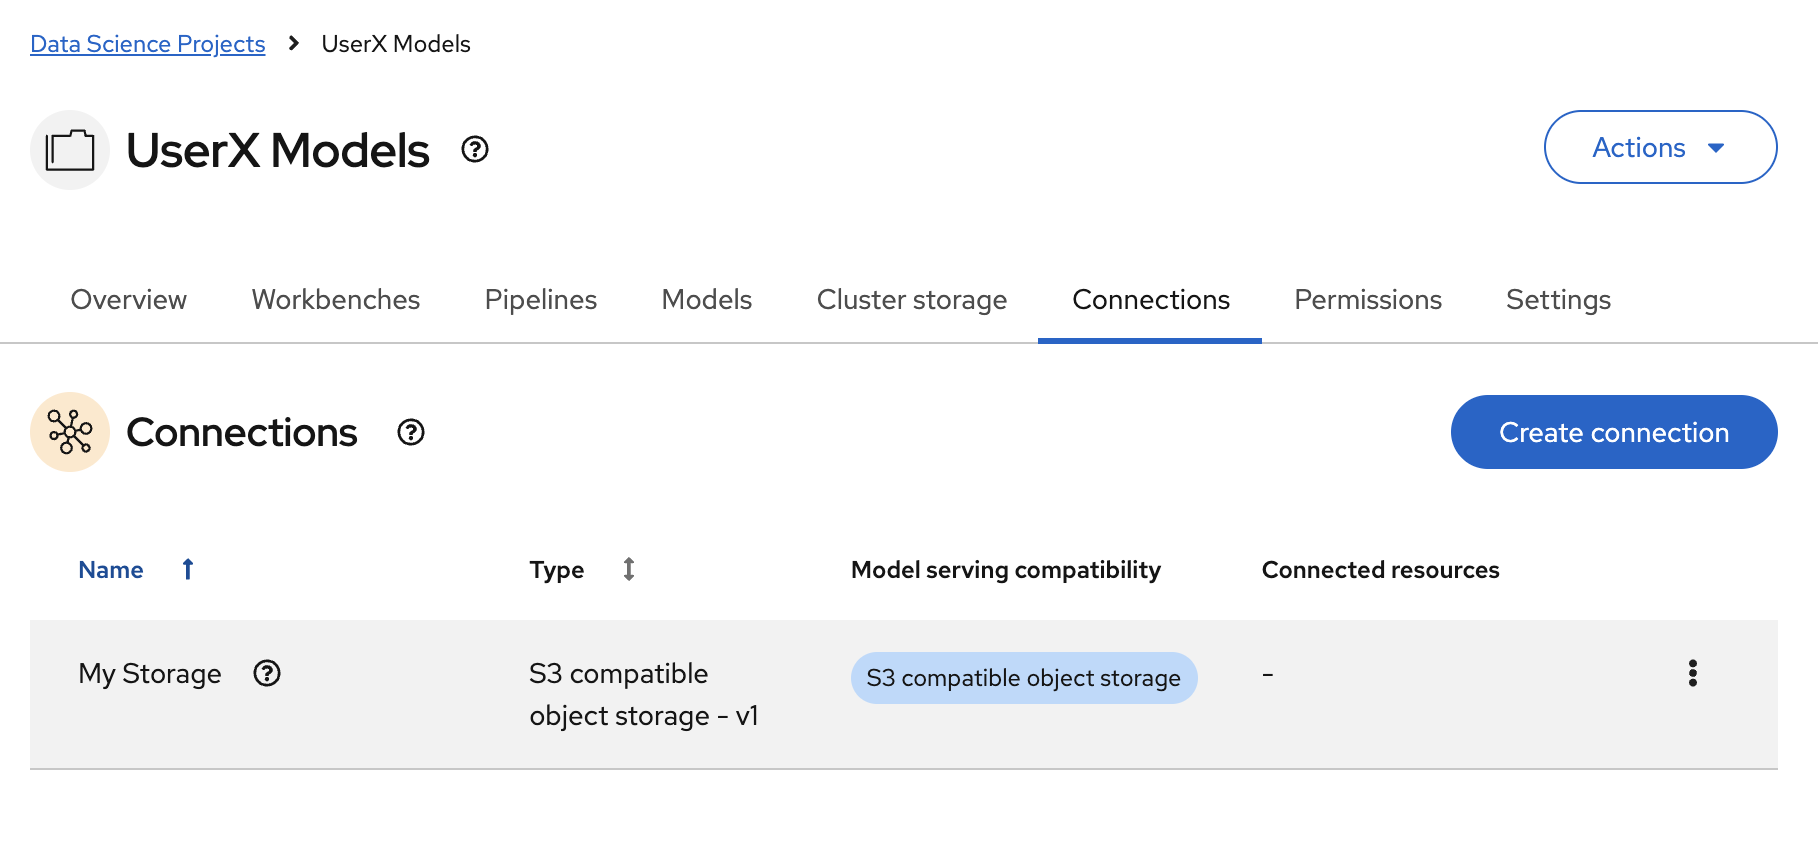
-