Creating a workbench
A workbench is an instance of your development and experimentation environment. When you create a workbench, you select a workbench image (sometimes referred to as a notebook image) that is optimized with the tools and libraries that you need for developing models.
-
You created a
My Storageconnection as described in Storage Setup.
-
Navigate to the project detail page for the data science project that you created in Setting up your data science project.
-
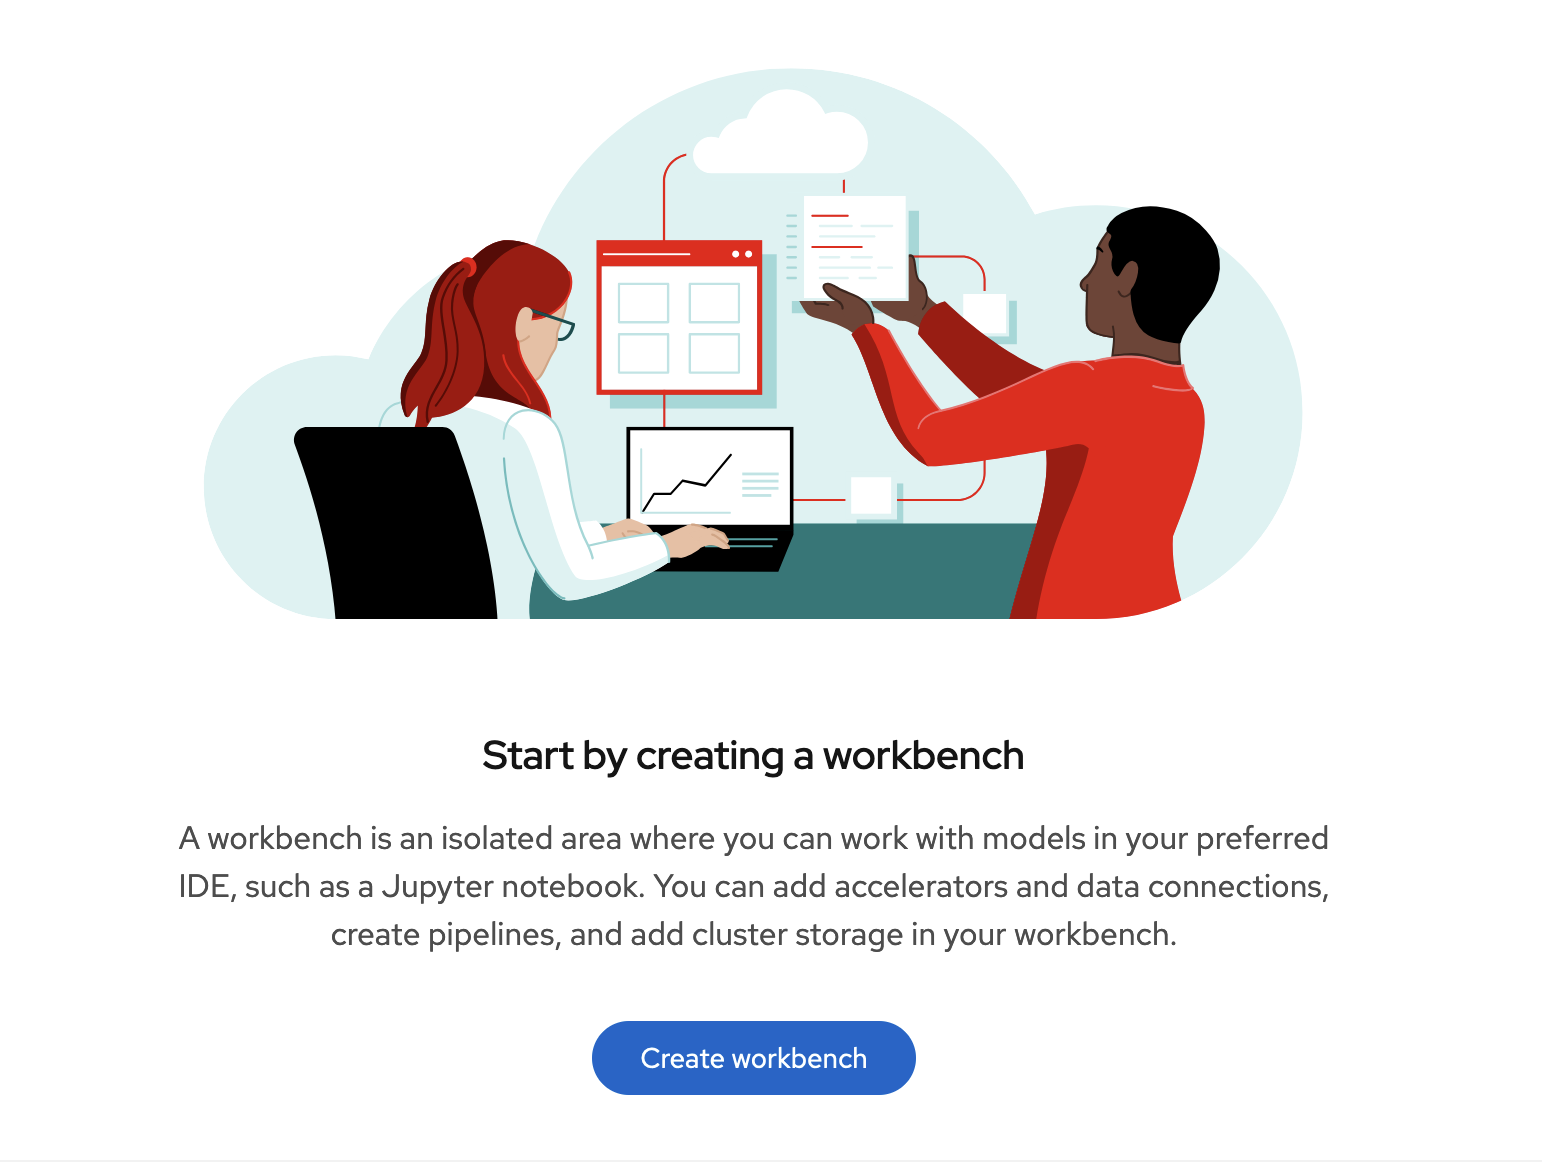
Click the Workbenches tab, and then click the Create workbench button.
-
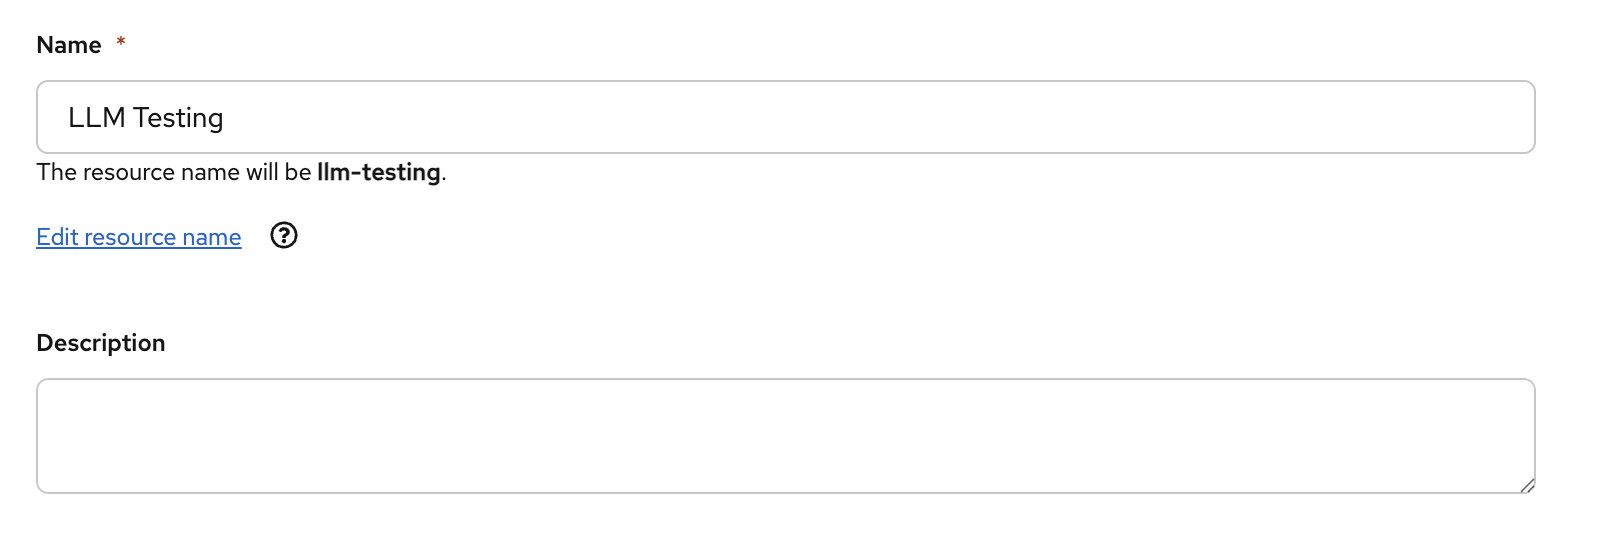
Fill out the name and description.
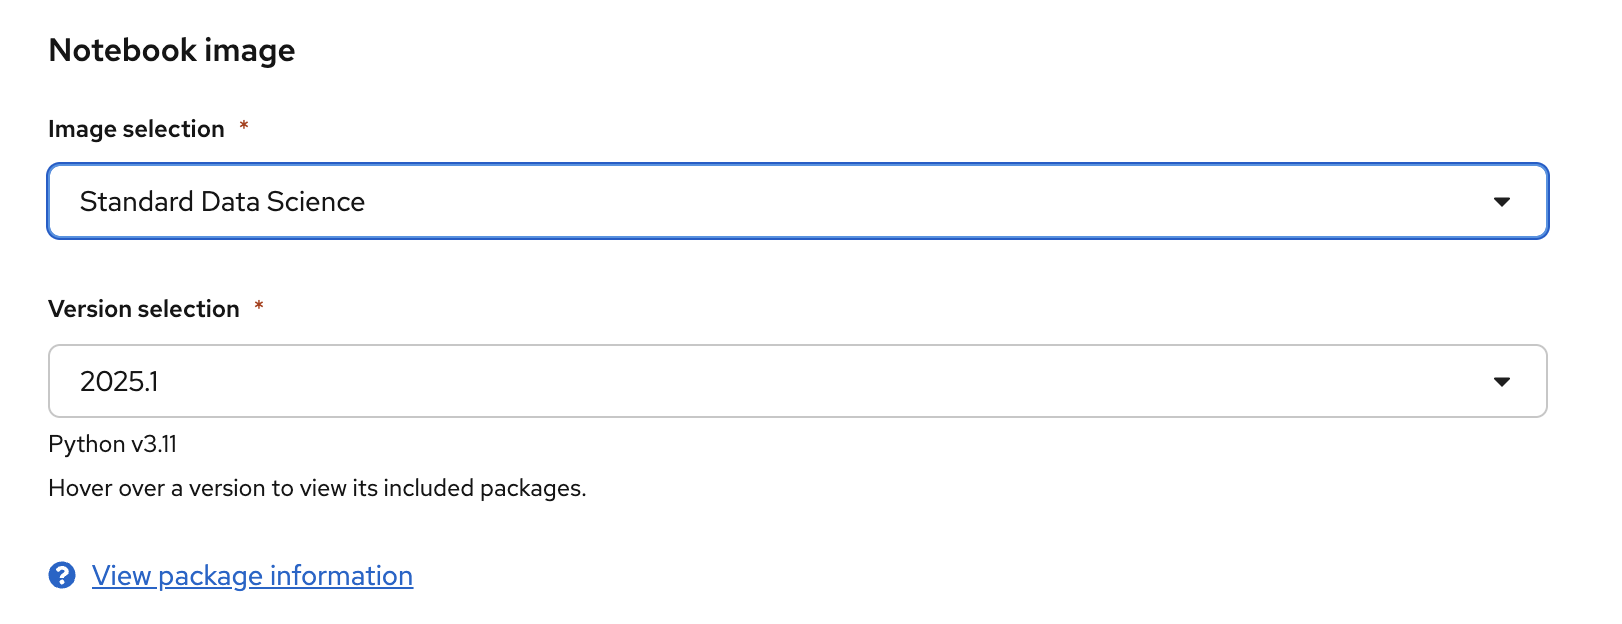
Red Hat provides several supported workbench images. In the Notebook image section, you can choose one of the default images or a custom image that an administrator has set up for you. The Standard Data Science image has the libraries needed for this workshop.
-
Select the latest Standard Data Science image.
-
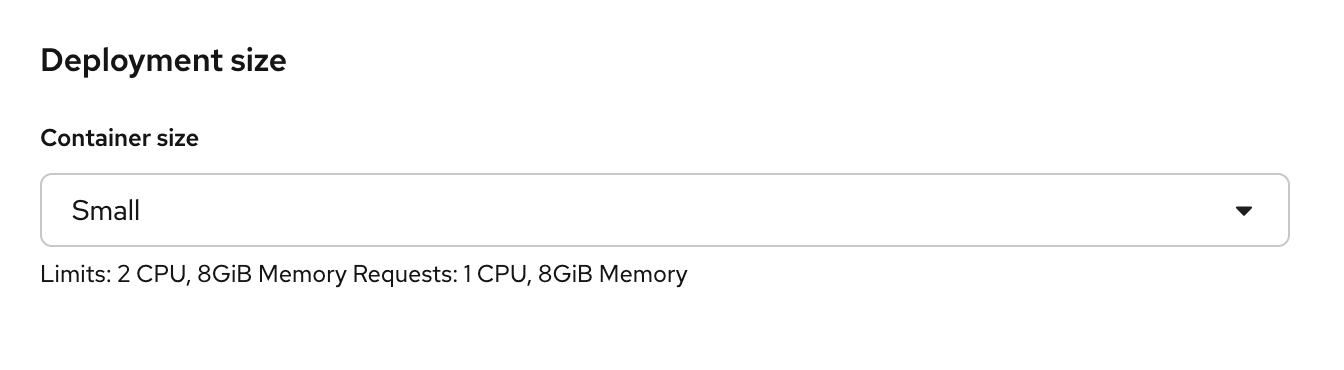
Choose a small deployment.
-
Edit the storage options and increase the storage size to 100GB.
This is optional and only needed if you plan on downloading models to object storage later in the workshop.
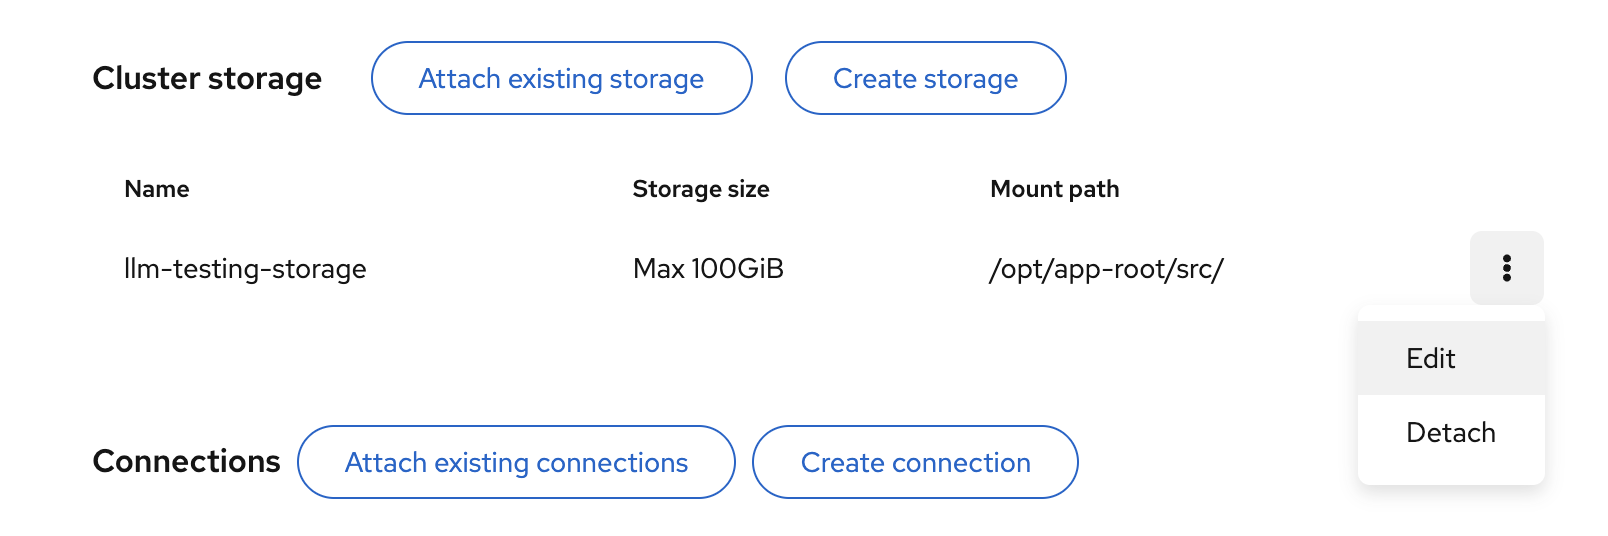
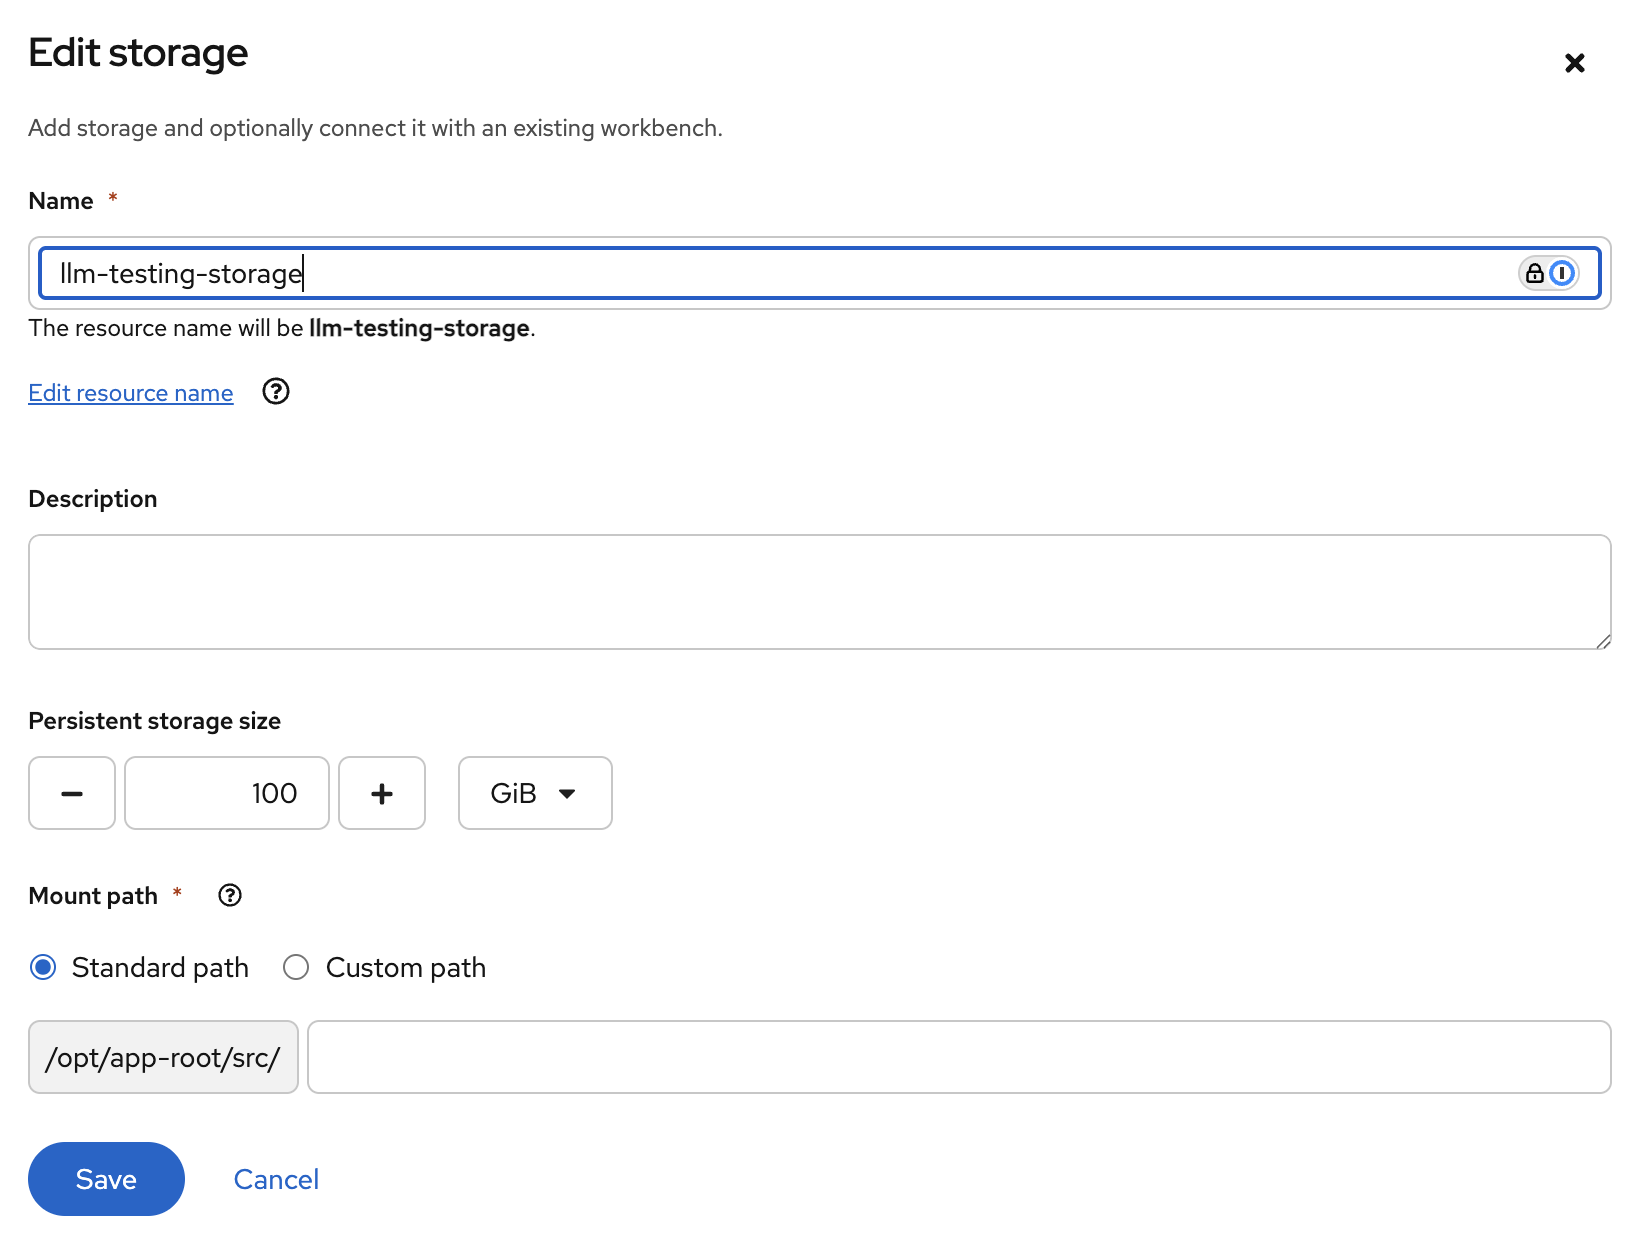
-
For Connections, click Attach existing connection.
-
Select
My Storage(the object storage that you configured previously) and then click Attach.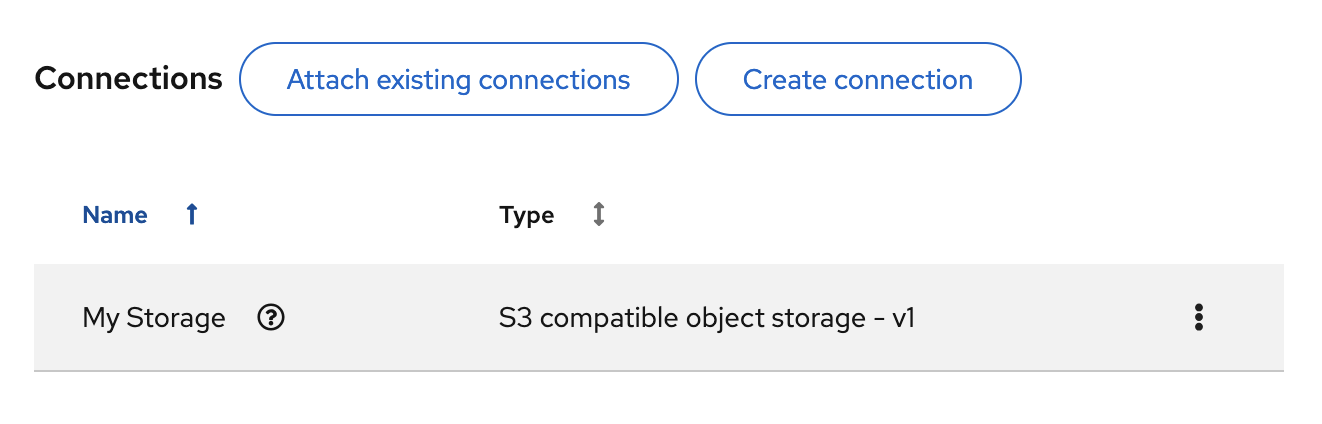
-
Click Create workbench.
-
Click the link for your workbench. If prompted, log in and allow the Notebook to authorize your user.
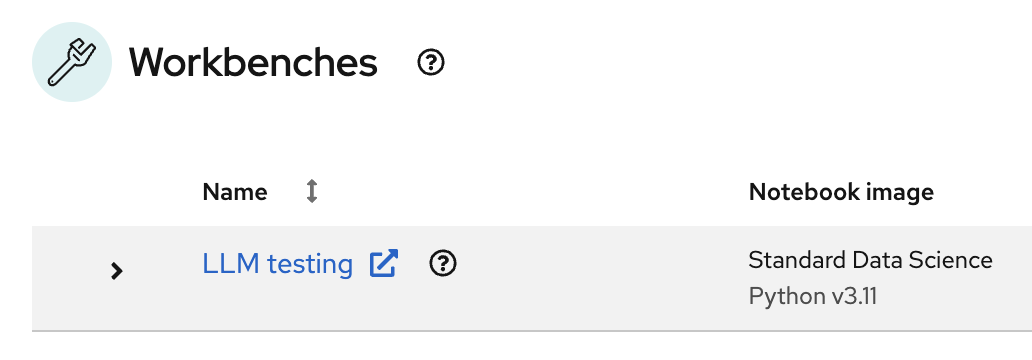
Your JupyterLab environment window opens.
This file-browser window shows the files and folders that are saved inside your own personal space in OpenShift AI.
-
Bring the content of this workshop inside your JupyterLab environment:
-
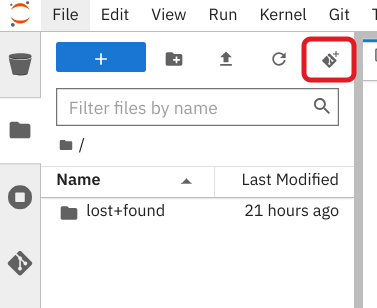
On the toolbar, click the Git Clone icon:
-
Enter the following workshop Git https URL:
https://github.com/cfchase/serving-models.git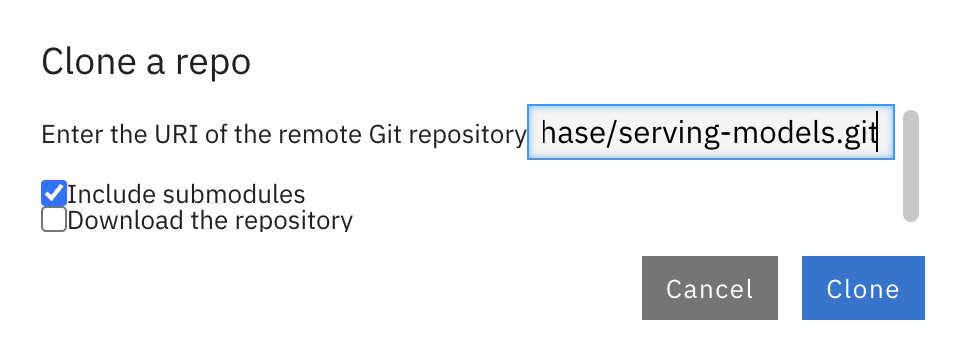
-
Select the Include submodules option, and then click Clone.
-
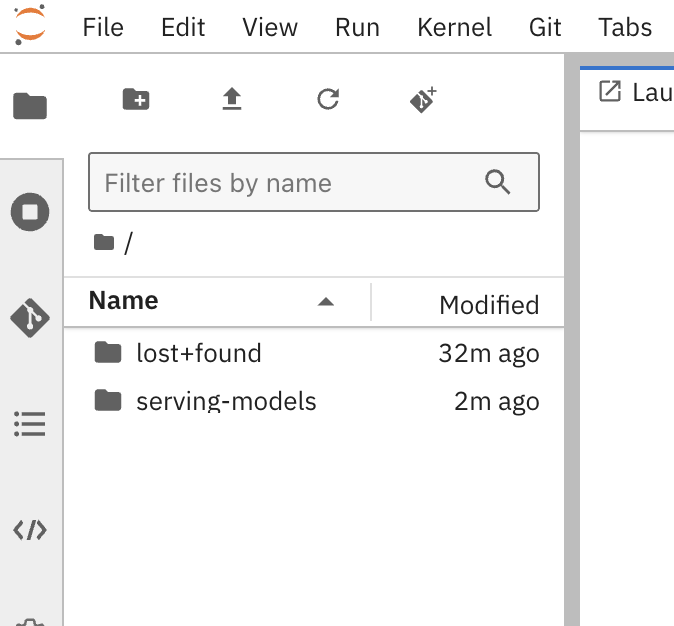
In the file browser, double-click the newly-created serving-models folder.
-